
Blackmagic Cloud Guide: Sync and Share Your Footage
How Blackmagic Cloud works with Black Magic Camera: syncing clips from your phone, sharing projects with editors, and keeping original footage safe while you travel.
Lighting for Black Magic Camera filming: using windows and practical lights, direction and softness, colour temperature discipline, and a simple kit that lifts any scene.
Light is the largest single difference between phone footage that looks accidental and footage that looks filmed. Black Magic Camera gives you manual control over exposure and focus, but no setting manufactures good light; that part is arranged in the room, before you press record.
This lighting guide covers the filmmaker's fundamentals in phone-sized form: finding good light that already exists, shaping it with direction and softness, keeping colour consistent, and the small kit that covers most situations. It pairs naturally with the Black Magic Camera APK manual controls material on this site, because light and settings are two halves of the same exposure.
Start from a comforting truth: the best light for most phone filming is free. A window, a doorway and a subject placed thoughtfully outperform a bag of cheap panels used carelessly.
Before adding anything, read the room. Turn off the harshest overheads, find the largest window, and place your subject so that light falls across them at an angle rather than flat from the front or directly above. Move the subject before you move the lights; two steps toward a window changes a portrait more than any camera setting. This habit, called finding the light, is the foundation under everything else in this guide.
The same discipline applies whatever you are filming with Black Magic Camera. Decide the look before you press record, set the controls that create it, and check the result on a screen bigger than the phone as soon as you can. lighting for mobile filming stops being a theory the first time you compare two test clips side by side and can see exactly what your settings changed.
Light from the side models a face with gentle shadow and depth; light from the front flattens it; light from above carves eye sockets. Softness comes from size: a big window or a light through a shower curtain wraps kindly, while a small bare bulb is harsh and unforgiving. Our Black Magic Camera interview filming guide applies these principles to the most common lighting setup of all, one person talking to camera.
Professional results with Black Magic Camera come from repeatable habits rather than lucky clips. Build a small routine around lighting for mobile filming: prepare the phone, confirm your settings, record a short test, review it honestly, and only then start the real take. The routine takes two minutes and removes most of the surprises that ruin otherwise good footage.
In practice:
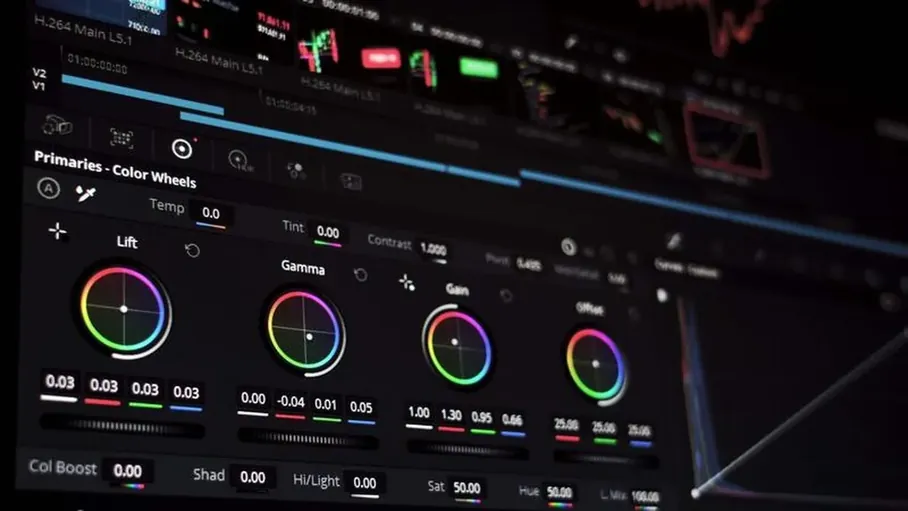
Every light source has a colour, from warm household bulbs to blue daylight, and mixing them carelessly paints faces in two tones at once. Choose a dominant source, match the app's white balance to it, and either embrace or eliminate the second colour deliberately. Consistency within a scene matters more than perfection: an audience adapts to a warm room, but not to a face that changes colour between cuts.
It is worth remembering that Black Magic Camera gives you control, not automatic quality. The app exposes the decisions a stock camera app would make for you, which means your judgement becomes part of the footage. lighting for mobile filming is one of those judgements, and it improves quickly once you start reviewing your own clips with a critical eye.
You need less than the internet suggests: one decent LED panel with adjustable brightness and colour, a way to soften it, a small light stand, and black and white card for cutting and bouncing light. That kit lights interviews, products and small scenes convincingly. Buy slowly, learn each piece on real shoots, and let a genuine recurring problem, not a sale, choose your next purchase.
Storage, battery and heat are the silent partners of every Black Magic Camera session. High quality recording consumes all three faster than new users expect, so plan for them alongside lighting for mobile filming. A creator who manages the practical side finishes sessions with footage; a creator who ignores it finishes with a hot phone and a half-recorded scene.
Products reward controlled light: a soft source to one side for shape, a bounce to lift shadows, and care with reflections on glass and metal, which show your entire setup to the viewer. Move the light, not the product, when a reflection misbehaves; small angle changes transform shiny subjects. Dark backgrounds with a rim of light separate a product from its setting and look expensive for almost no money.
When you share a finished video, nobody sees your settings, only the result. That is why lighting for mobile filming deserves deliberate attention with Black Magic Camera: it is one of the invisible decisions that separate footage that merely documents a moment from footage that holds a viewer's attention. Test it on your next small project before trusting it on an important one.
Lamps already in a room, practicals, are free set design and free light at once, if you place subjects near them and expose for the balance between lamp glow and room darkness. At night, gather your subject into the pools of light that exist rather than flooding everything flat and bright. Mood is mostly restraint, and a phone sensor rewards pools of good light over oceans of mediocre light.
If you are learning Black Magic Camera in stages, keep a simple notebook of what worked. Note the scene, the light, the settings you chose for lighting for mobile filming and how the clip looked afterwards. Within a few weeks the notebook becomes a personal preset library, written in your own experience, that no generic settings list can match.
A large window with your subject placed at an angle to it. Big, soft, directional daylight flatters faces and products more than most budget lighting kits used carelessly.
You are mixing light sources with different colour temperatures. Choose one dominant source, set white balance to match it, and handle the second colour deliberately.
One adjustable LED panel, a softening method, a small stand, and black and white card for bouncing and cutting light. That covers interviews, products and most small scenes.
Use a large soft source to one side, a bounce for shadow lift, and move the light rather than the product when reflections misbehave. Small angle changes transform glass and metal.
Lighting is where Black Magic Camera footage stops looking like a phone and starts looking like a film. Find the good light first, shape it with direction and softness, keep its colour honest, and the camera will do the rest.
Storage, battery and heat are the silent partners of every Black Magic Camera session. High quality recording consumes all three faster than new users expect, so plan for them alongside lighting for mobile filming. A creator who manages the practical side finishes sessions with footage; a creator who ignores it finishes with a hot phone and a half-recorded scene.
If you are learning Black Magic Camera in stages, keep a simple notebook of what worked. Note the scene, the light, the settings you chose for lighting for mobile filming and how the clip looked afterwards. Within a few weeks the notebook becomes a personal preset library, written in your own experience, that no generic settings list can match.
Download Black Magic Camera APK